There’s nothing like spending hours and hundreds of dollars to build a toy that can crash or be destroyed at any time!
I’ve had these pics around for a while and have been meaning to post them, but I didn’t know if there’d be much interest or not.
I finally decided to fullfill a childhood dream of owning a radio control (R/C) airplane. One day, a friend sent me a link to some videos showing some R/C combat wings and I figured that would be the way to go. These combat wings are relatively easy to build and are constructed from EPP (expanded polypropylene) so they can really take a beating. For those not familiar with structural foams, EPP is a waxy, very durable foam unlike the EPS (expanded polystyrene) that many people imagine surounding their new electronic equipment.
Anyway, the idea of the combat wing is that it is easy enough to put together, and durable enough that you purposely try to collide them mid-air in combat. Sounds like fun, huh?
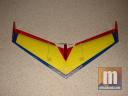
I chose the Unicorn wing, as I really liked the unique design of the motor mounting tube and also the fact that it is designed to glide well. This means that it’s not the most aerobatic of the wings, but it can do a nice balance of smooth flight with more extreme maneuvers.
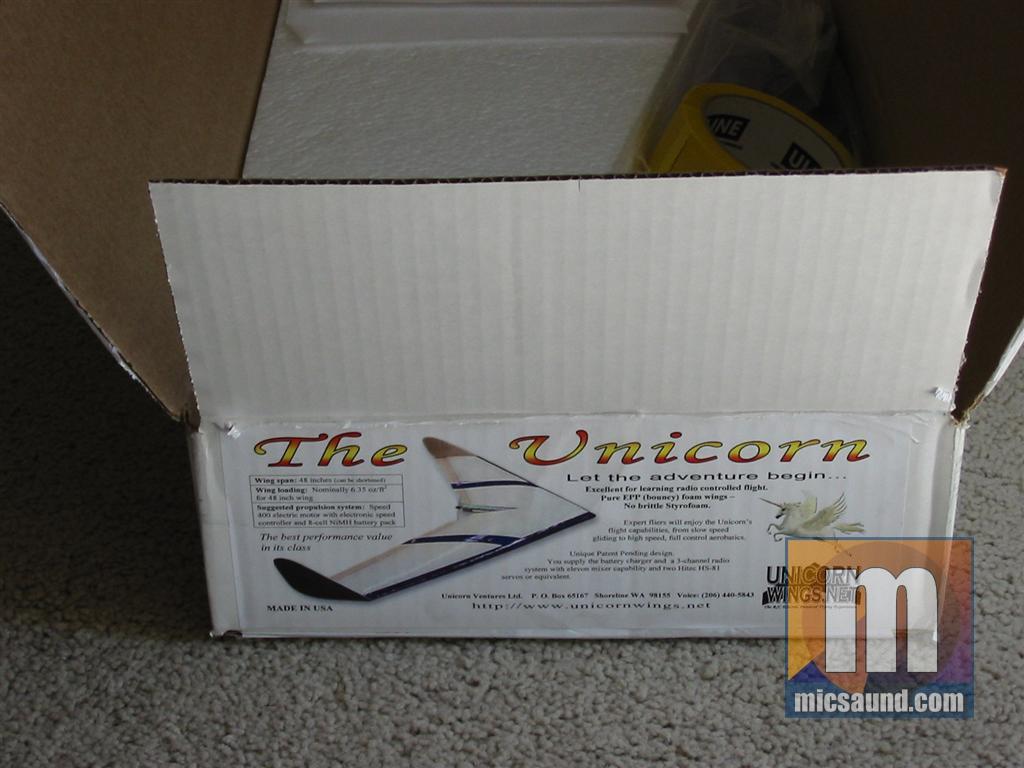
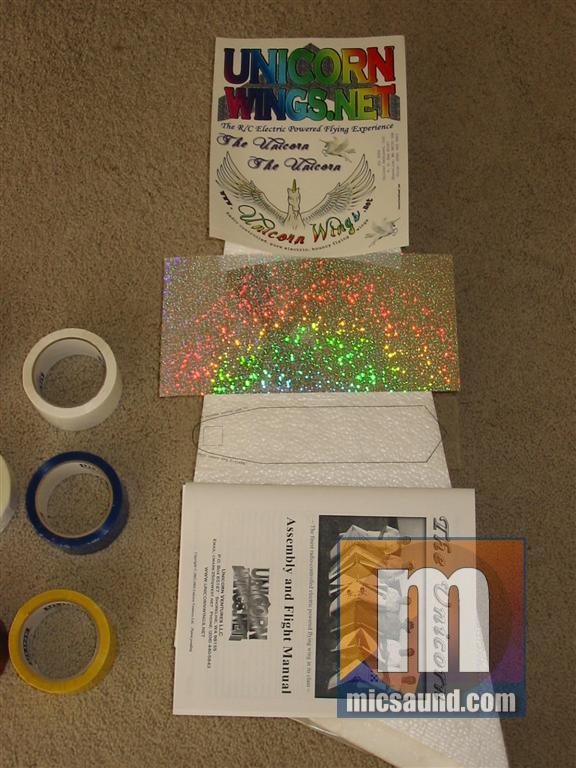
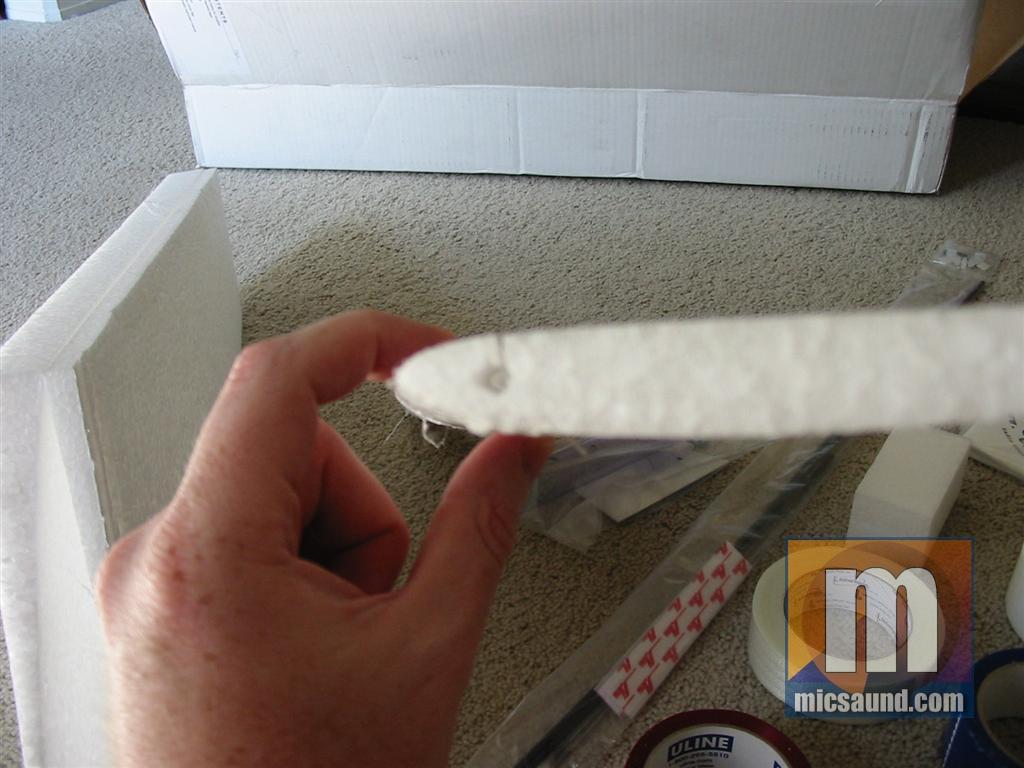
When I got the kit it contained the pre-cut foam wing halves, the various pieces of hardware, balsa for the flaps, and instructions. I also ordered some colored tape which would eventually be used for covering and decorating the finished plane. Here’s what it looked like out of the box:
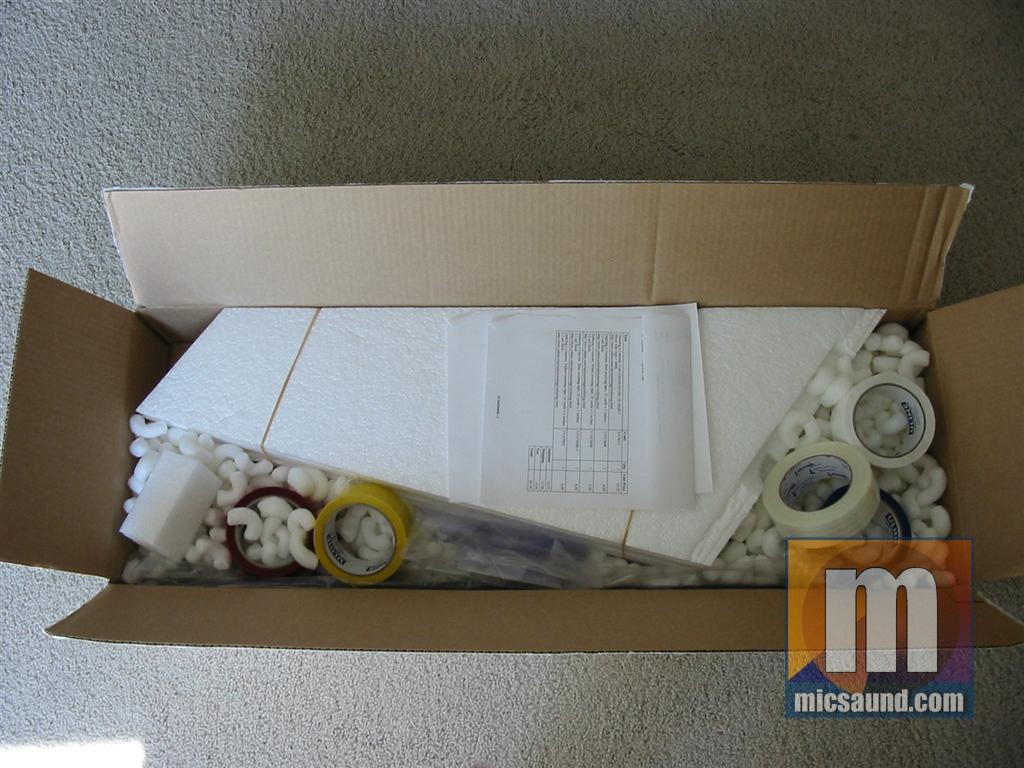
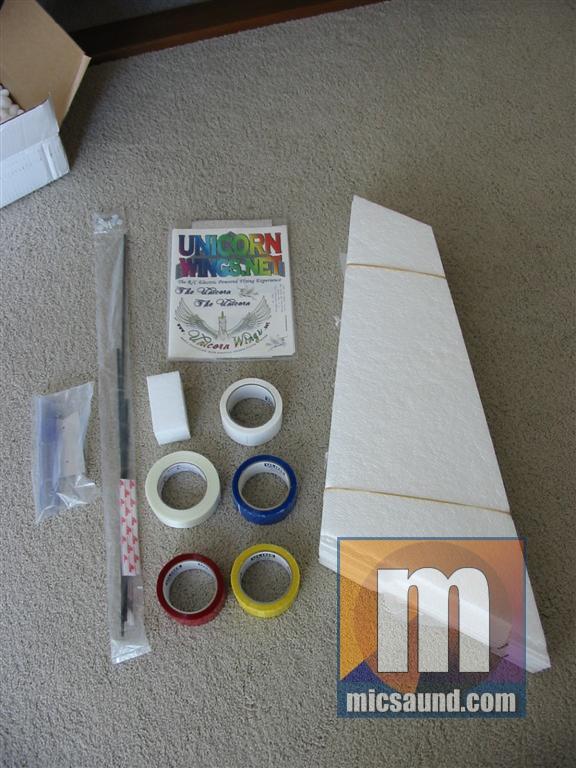
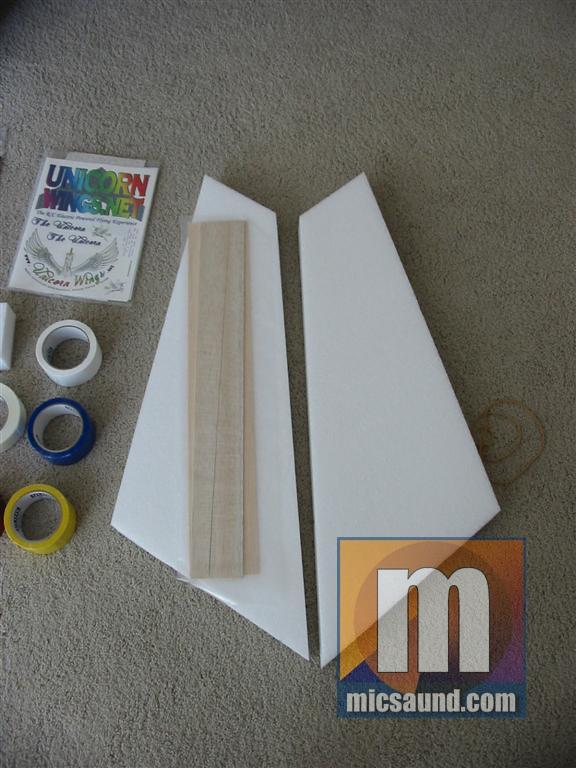
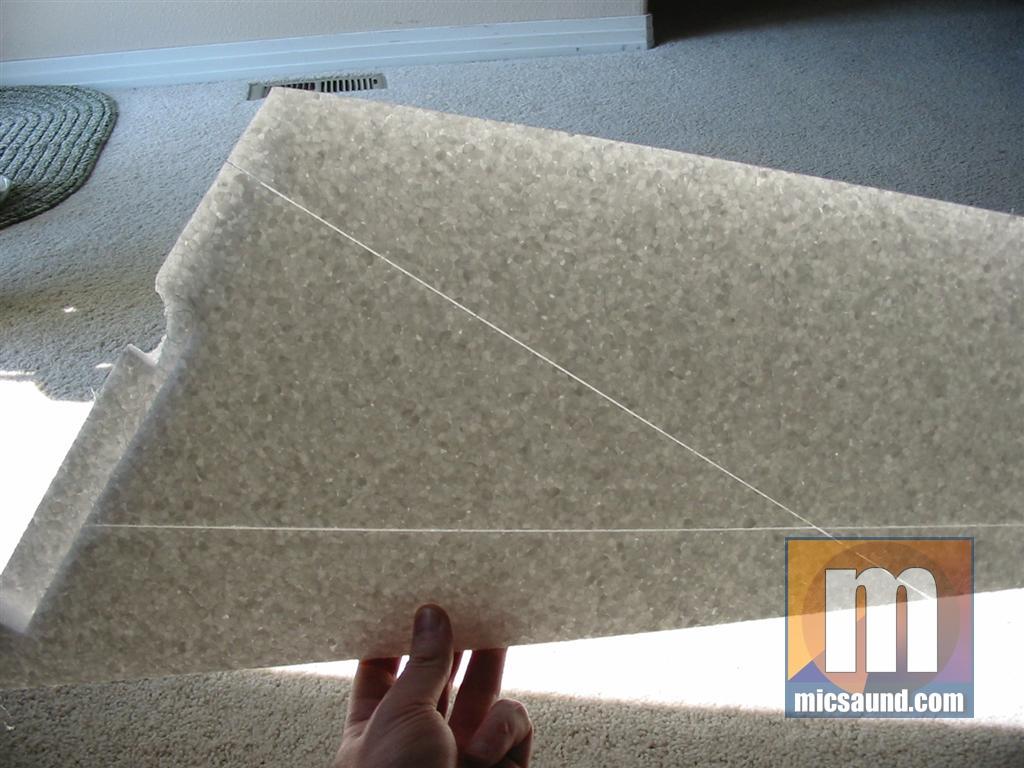
I was quite pleased with the quality of the kit. They even included an entire roll of reinforced fiber tape as part of the base kit. The wing was pre-cut with slots for the reinforcing carbon fiber rods and the motor mounting tube.
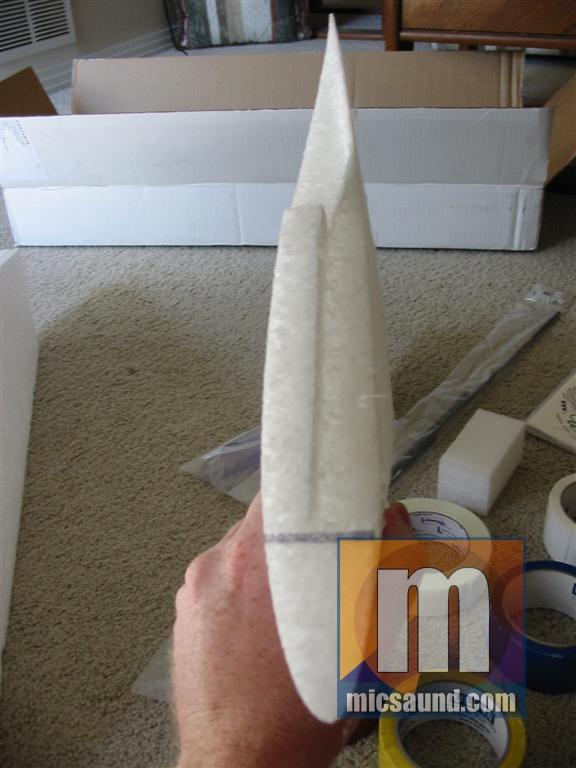
My first step was to join the wing halves and glue the motor mounting tube into place. Being as this was my first radio control airplane, I decided I wanted the wing to be extra-durable, so I coated it several times in a slurry of Goop marine glue mixed with Xylene. This coating helps keep the foam cells from splitting and gives the entire wing a real ‘bounce’ when it hits something 😀

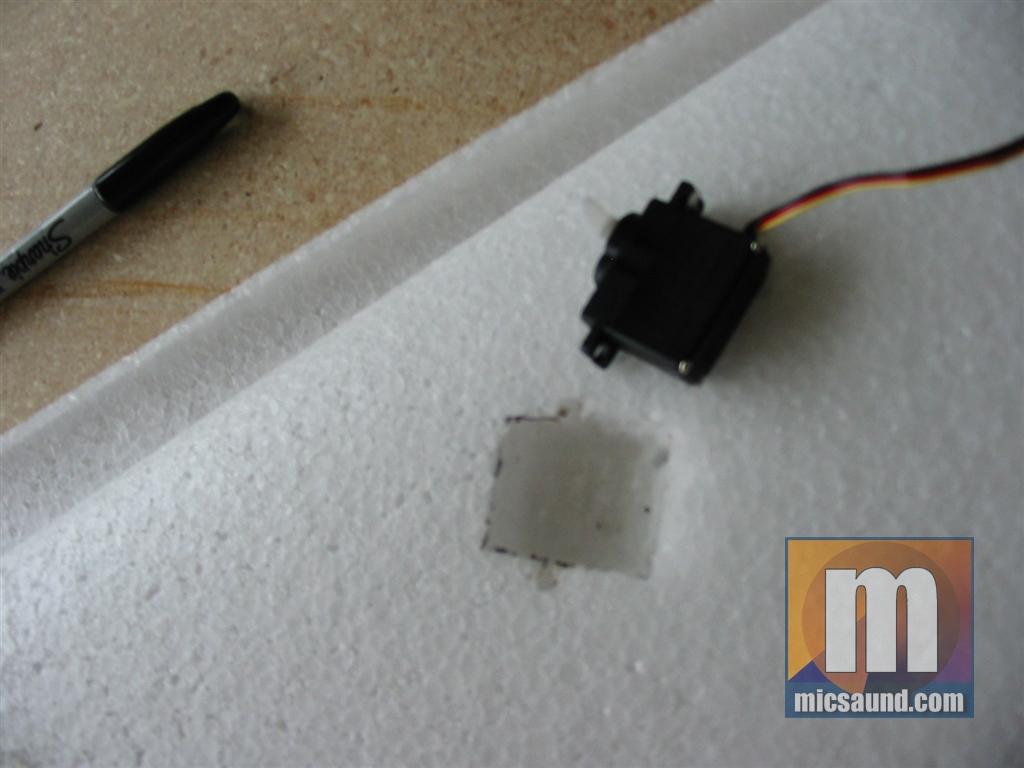
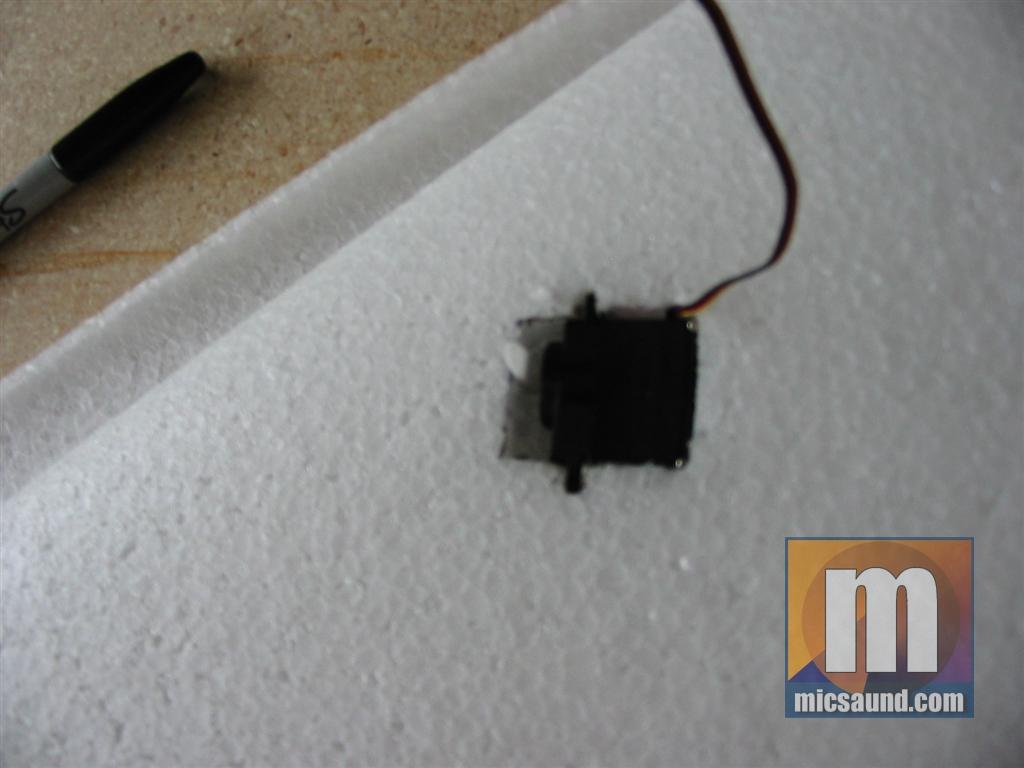
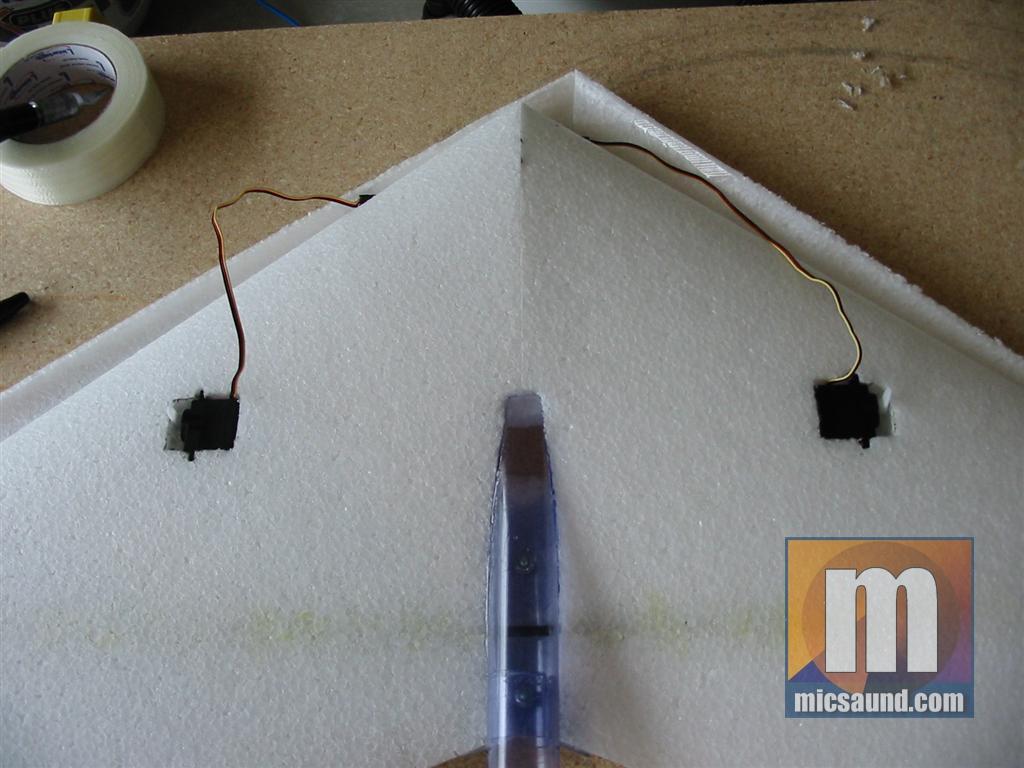
The next step was to mount the servos. The servos are small gear motors which operate the control surfaces of the airplane. It is important to monitor the balance of the wing when choosing the placement of the various components as an unbalanced plane will fly horribly, if at all.
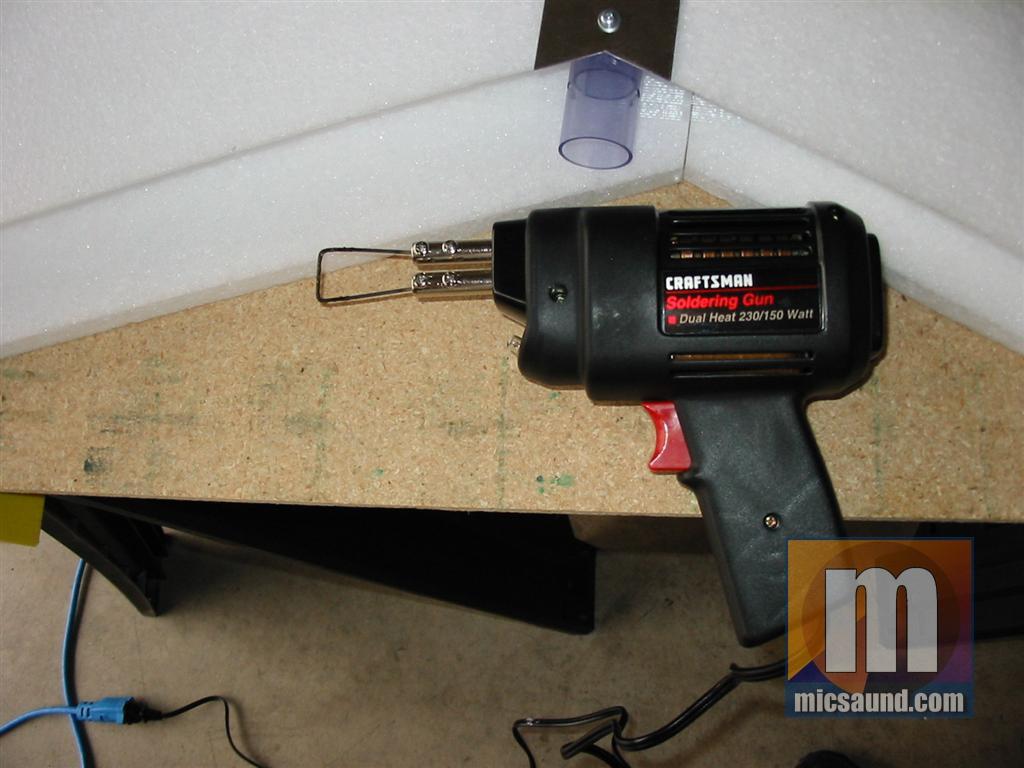
To cut the “pockets” for the servos and radio receiver, I used a high-powered soldering gun. I bent squared U-shaped cutting tip from some 3/32 piano wire and mounted it in the soldering gun. The gun passes current through the wire, causing it to heat-up which allowed me to cut very easily into the foam. It’s not really “cutting” but more melting a cut into the foam. It worked extremely well and is a technique I plan to use in the future.
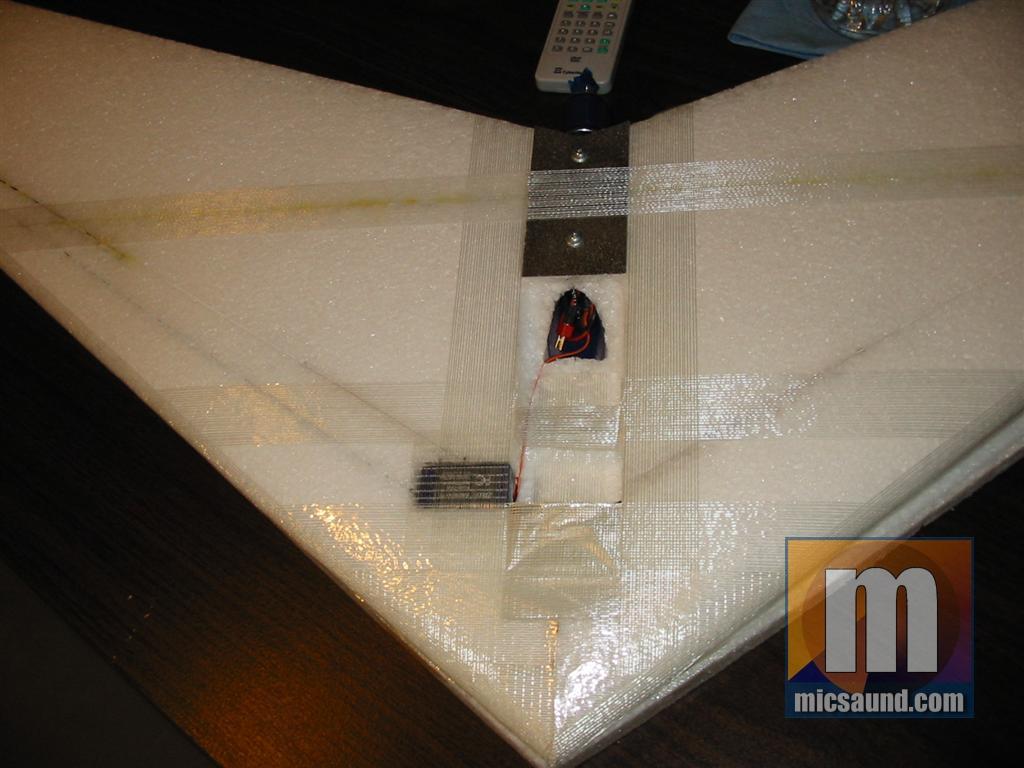
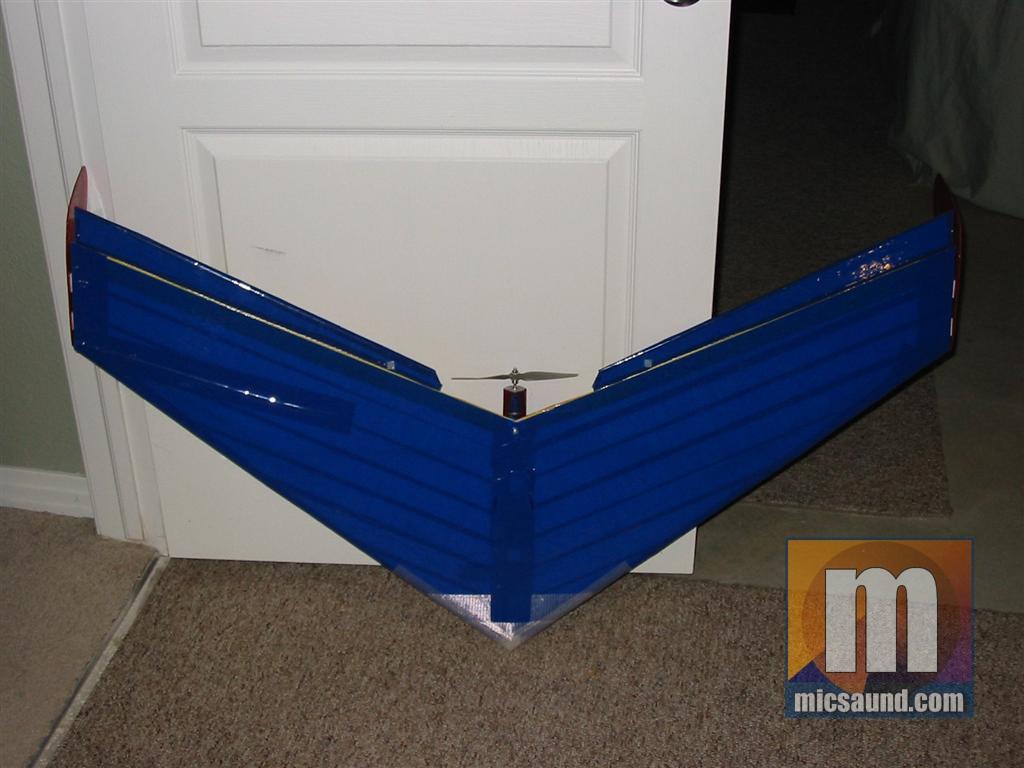
Once I had the motor tube and its reinforcing plate, the servos, the receiver, and spars in place, it was time to do the reinforcing. In the interest of keeping the plane easy to assemble and lightweight, the reinforcing is done with strapping tape. The tape is taughtly applied at various points and angle to reinforce the wing so it does not “flap” at high speeds and can withstand impacts. I used a combination of the included single-direction fiber tape along with 3M #8959 bi-directional heavy-duty tape. The 8959 is incredible stuff. It sticks to pretty much anything and is very strong since the integrated fibers criss-cross. In these photos, you can see where I used the 8959 on the nose (thinking I might crash a time or two) and the standard strapping tape elsewhere.
Also, one of the more unique aspects of the Unicorn kit is that you “build” the battery compartment out of the packing tape as well, You can see this in the photos also.

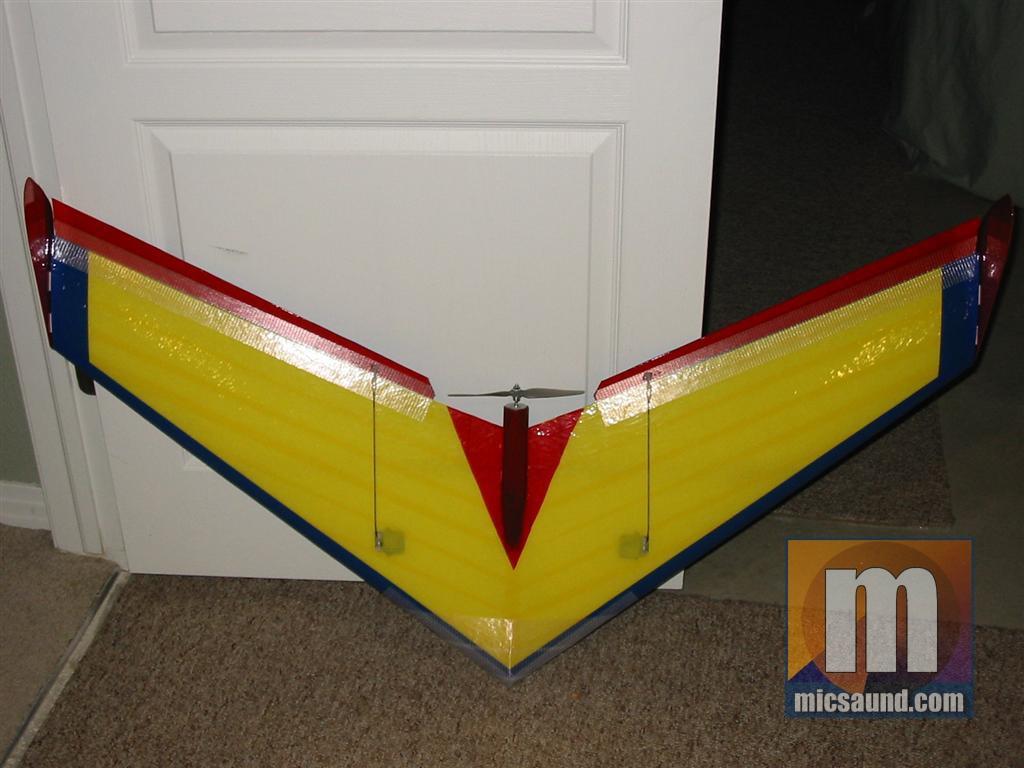
With all of the structural taping done, it was time to do the decorative covering. Actually, the colored tape also contributes to the rigidity of the wing, so it must be done carefully as well. This portion of the process takes quite a bit of time to do properly as the tape must be applied in very long pieces which can be difficult to keep from sticking to itself. I went-through a handful of Xacto knife blades as this tape seems to have a real knack for dulling the blade and it takes a very sharp blade to cut the tape cleanly.
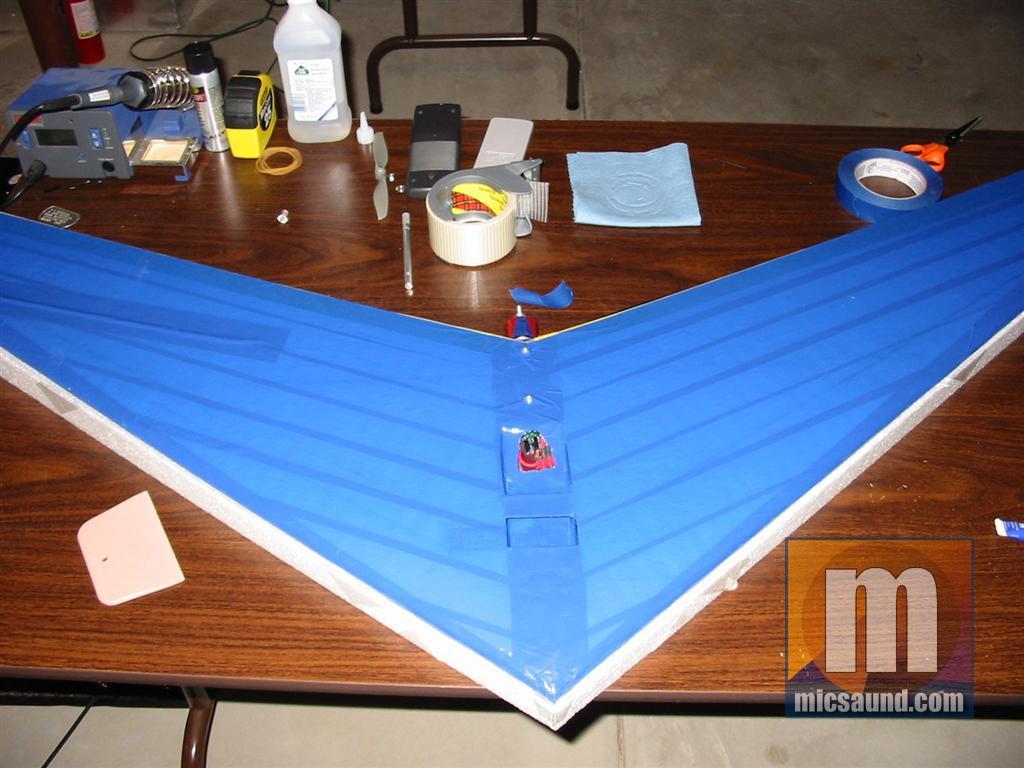

The finished plane came-out very well I think, especially considering it was my first attempt at building a plane. 😉

For those interested in the technical details, I am using the following equipment in the plane:
- Warp4 4-turn brushless motor
- Castle Creations Phoenix 35 amp speed controller
- HiTec Electron 6 receiver
- HiTec HS81MG servos
- 10 cell 1100mah NiMH batteries
If I were to do this plane again, I would get a 3-turn Warp4 motor instead, which would have a considerably higher RPM/volt. I also would not use the small 1100mah batteries because, in the current configuration with a 7×4 prop, I only get about 3-5 minutes of runtime per pack. However, the short runtimes force me to glide with the power off periodically in an attempt to extend the runtimes, and that can be fun as well.
Hay Micsaund,
Cool airplane. Cool review. No pictures of it flying?
Steve
How has the flying been? A lot of guys in my club, MMAC, have put brushless heli motrs in the UNicorn Wing and it is super fast! They are runnning 4000mAh lipos and they get rediculous 20 minute flying times!
It flies great. The ‘corn was my first wing (and second total plane after an EasyStar) and the fact that I’ve never cratered it really speaks to it’s docile nature.
I think that if I were to run $100 lipo packs, my runtime issues would be less of an issue 😉 However, I’ve been cheap and stuck to the 10-cell NiMH packs I bought with the initial build.
That’s pretty cool that your buddies have the ‘corn running super fast. A friend of mine runs an eRaider with dual lipos and a huge motor and the thing is twice as fast as mine. However, I’ve never been after speed but rather a fun, relaxing flight and I’ve got that — just in 5 minute chunks lol!
Mike
My buddies have the Unicorn Wing, and I have mine on order. In the meantime, I have built a few wings from FanFold and a CoroPlast (SPAD), both cost under $5.00 – not including the electronics. I have some video of the flights too.
Build info:
http://blog.thehobbyguy.tv/2006/10/09/5-dollar-wing/
Flight Video:
http://blog.thehobbyguy.tv/2006/10/15/corowing-spad-flight-report/
My Unicorn is all built and flying. Check it out:
http://blog.thehobbyguy.tv/2006/12/25/unicorn-wing-built/
I recently posted pics of my new micro scale RC glider on http://nolebotic.blogspot.com
I’d appreciate any comments regarding radio gear that would work well with it. I’m looking at the cirrus micro joule system. Thanks for the info.
hey guys i wannt to get one of those airplains call combat wing please tell me how do i get one or were or if one of u have the instruction can i get a copy please .thanks alot
Hi Alex. In the article above, I link directly to the place where you can purchase the Unicorn that I built. Once you have the plane itself, you just buy standard radio control servos, motors, and stuff like that from any hobby shop or http://www.towerhobbies.com or any other the other online place.
Everything you buy comes with instructions on how to put it together. Sometimes, you have to interpret the instructions to get the best results, but that’s part of the fun of the hobby: experimenting and learning to make a plane fly the way you like it to fly.
ok thanks micsaund i will try to do one
Also, Alex, you can visit your local hobby store and they are almost always VERY willing to help you and happy to talk and answer questions. In return, they obviously would like you to spend your money there instead of online somewhere like Tower Hobbies. For a total beginner who’s not familiar with radio control, you should visit the hobby shop and chat.
Also, keep an eye out for any local RC flying clubs. They’re groups of (mainly) guys who get together periodically and often have a flying field you can use. Sometimes, you’ll find certain clubs are “gas only” or have an anti-electric plane bias, and if so, they may not be that helpful, but usually you’ll find other electric fliers (like myself) who are very happy to help you out.
Mike